This is the story of two blocks.
The first I call Mr. Slap-it-Together, the second is called Mrs. Concentrate-and-Behave!
The more interesting question is why, as a patchwork kind-of-expert, could I make such a mess of it? As you will see from the pictures in the post below, it was a lot of silly errors all added together.
And it wasn’t done on purpose.
Over the tears of sadness at the end of Mr Slap-it-Together, I realised there are SOOOO many lessons to learn from this. I will first explain how I did it wrong – and then how I did it right.
Mr Slap-it-Together
1. Calm Down and Think
I was so excited to try out my new pattern to check it worked, and to sew with all the lovely curtain fabric sample books that I had bought from my charity shop that I got really, really excited.
I cut my fabrics fairly well and almost straight, stacking the pieces to do multi-cuts at one time, and then rushed on in to sew.
Full steam ahead…
2. Fabric – Check
Different fabrics are, strangely enough, different! I usually sew with cotton fabric, which is light-weight in thickness, because that’s what we usually buy in shops and online etc.
Today’s fabric was polyester (which is more stretchy) and heavyweight curtain fabric (which is thicker and less fold-ey).
Due to the finish on the fabric for fire-proofing and suchlike, it is also a bit more slippy slimy (especially when stacked to cut) than usual.
What does this mean…
The polyester fabric can distort out of its cut shape a little easier.
With the extra fabric weight – when pressed any seam won’t be as flat and neat as usual – which will use up a tiny bitsy bit more fabric on the seam than you would normally. Which will completely mess up your seam allowance in your pattern.
And being slippy, any stacked cutting will be, well, a minor disaster in the making.
3. Check, Measure and Think THEN Sew
And so, without thinking I grabbed my fabric pieces and started to chain sew at speed. Except in a temporary moment of madness, I completely forgot which mark on my machine was the ¼ inch seam allowance mark and charged on, accidentally sewing at 3/8th.
Ok, so not a huge difference but we all know that in patchwork getting that seam allowance right is critical to a good looking block.
AND… with this block the snowball and flying geese don’t care what seam allowance you use as they are decided by the size of the fabric corner squares that you cut. My design cut sizes were for a ¼ inch seam not 3/8th.
So now I have a block in partially sewn parts with different seam allowances… apples and pears as it were.
Really started to shape up into a good looking block!!!!
4. Pressing
I usually press my seams to one side. This is great with thin fabric, but is a total YUCK with thicker fabric because it just doesn’t bend or lie straight. I ended up with bulges along the fabric seams on one side and normal thickness on the other.
And when it came to sewing bits together all these lumps and bumps made lining up any seams a disaster.
5. Keep on Sewing on
 And so I joined my blocks.
The fabric was stretching slightly here and there, the blocks were different sizes from my cutting and sewing malfunctions.
And I don’t pin seams before I sew them. I mean, really, does anyone still do that???
Then it dawned on me. I suddenly realised that I had been sewing the wrong seam allowance. Mid-way through a sewing project I randomly changed seam allowance.
So now my seams are like apples, pears and bananas!
6. Complete and Cry
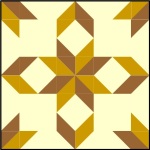
My design was for a 12 inch square block and really crisp points and corners. I had spent ages designing it and checking the Maths.
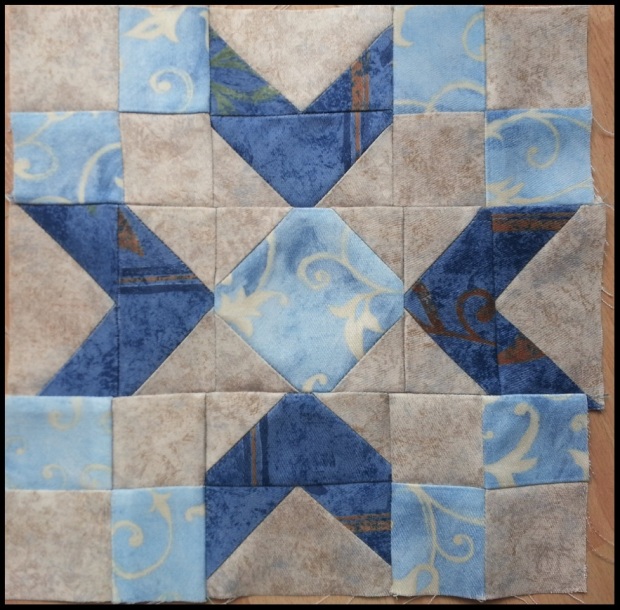
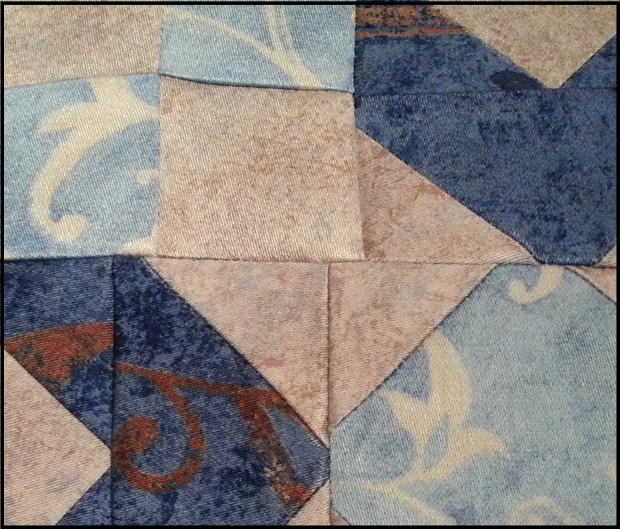
My final block as sewn was 9 ½ inch square (nearly square, almost) and the seams joints don’t meet and the points are mostly missing.
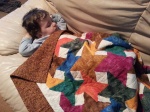
In all my haste and craziness I have successfully sewn a rather pretty colored new cleaning cloth!
If at first you don’t succeed try again…
Mrs Concentrate-and-Behave
 1. Calm Down and Think
Having thought about the first block, I decided to try again – and this time to think about it.
Changes I made were…
Looking at the seams I had sewn from the back I decided that the fabric seemed better with the wider seam allowance. So I re-calculated my cut sizes for a 3/8th seam allowance.
I sewed it just within the 3/8th line on my machine to allow for the fabric fold when pressing.
I cut each piece of fabric carefully and individually – no mass stacking, slipping and cutting.
I pressed the seams open and flat, and so the lump and bump of the seam was spread out and not so obvious and chunky.
 I took the extra minute to pin each and every seam before sewing it. Pinning at the ends and in the middle of each piece and on both sides of each seam.
I breathed a lot and slowed down.
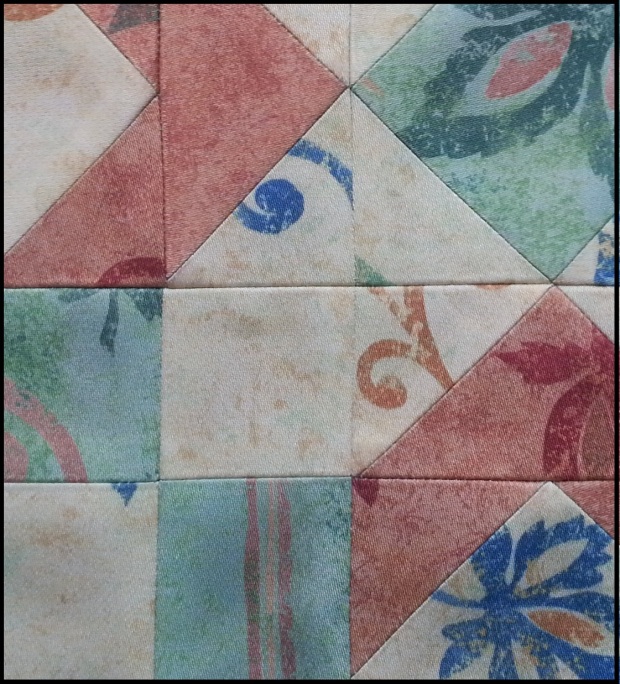
My final block was finished to exactly 12 inch square plus seam allowance, just as I designed. Just as planned.
In Summary
Patchwork is fun – but it’s far more fun when the result is something you are pleased with.
So, think, plan, slow down and most of all – enjoy it!
ps. If you want the pattern to sew this block, then click HERE for access to the salespage.

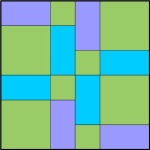 If you sew a Disappearing Nine-patch Block then this is exactly what you do. You can get so many stunning effects and they look, at first appearance, really hard to do and yet it’s fairly easy. This is one of those blocks where you could get lost for many quilts as you experiment with different colours and layouts.
 It’s Saturday today and as always we went into town for our stroll and coffee. Being creatures of habit we always go to the same place.
  It was a lovely quirky little place and the boys instantly loved it. Toddler was straight onto the leather sofa and rearranging the suitcase table so he could reach it. Husband and elder son read and reread the chalk board drinks menu. The cake was fantastic, toddler could see the buses and trains go past, elder son enjoyed reading some local information magazines and husband enjoyed talking coffee with someone who really knew their art.
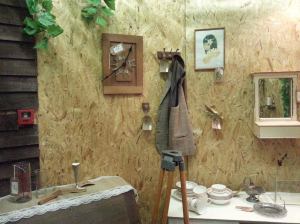 The photos show what I found. Curiosities. Antiques. Wonder and joy. A mumble jumble of history and art. And a clock face made from old keys.
 I had discovered, feeling a bit like Lucy in a wardrobe, something I had not even thought existed. The hidden secret room that you can’t see from outside. Blissful.
 And that’s because it is!
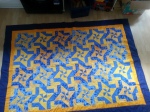 Patchwork can be the same. Some of the most visually stunning quilts are made of a very basic pattern and with a minimum amount of colors or fabric choices.